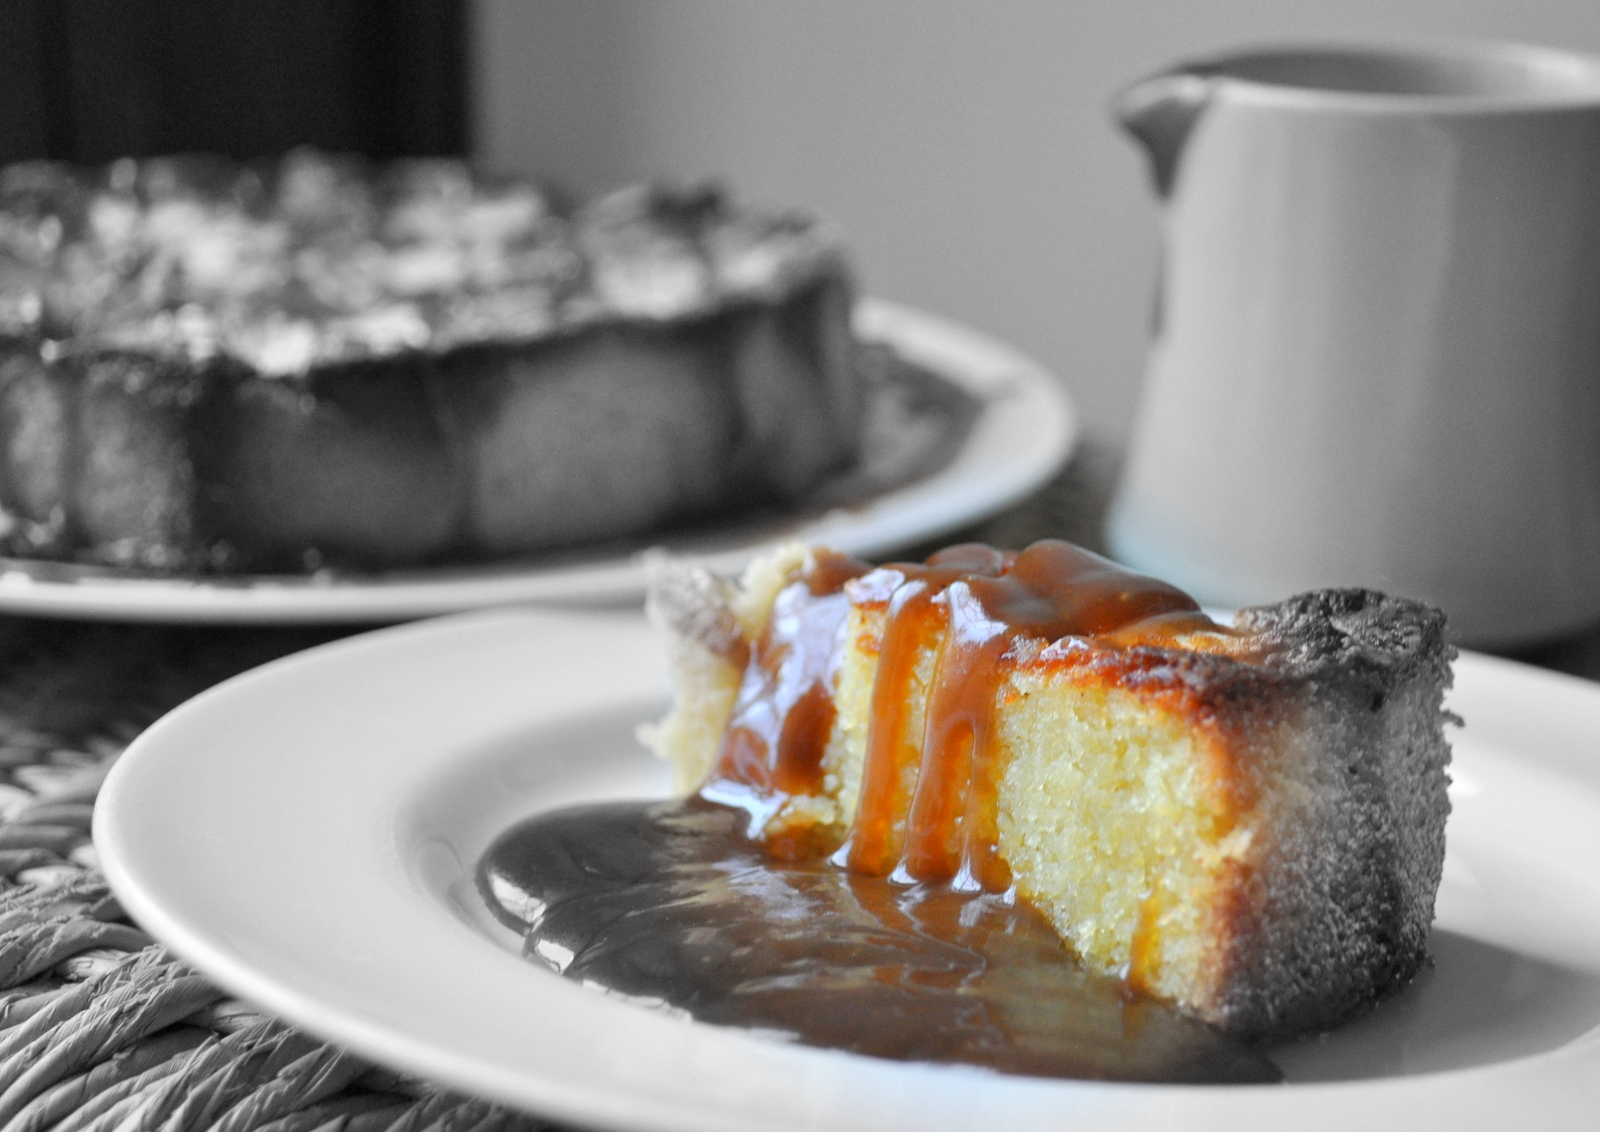
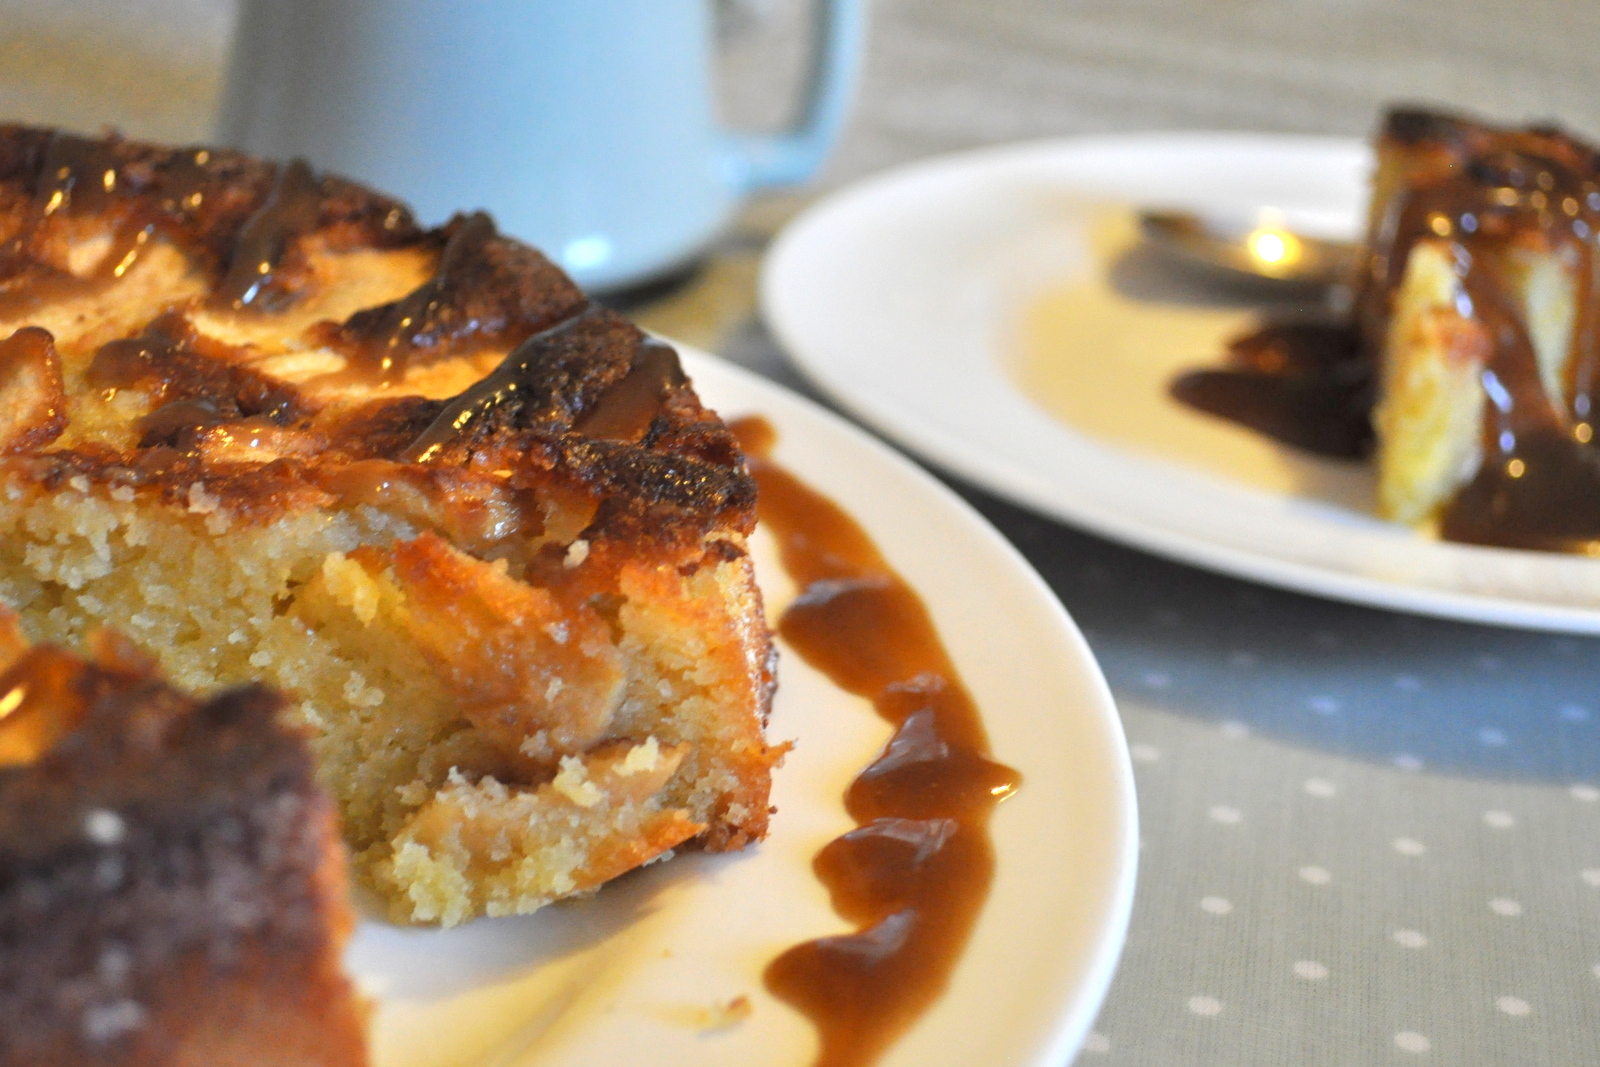
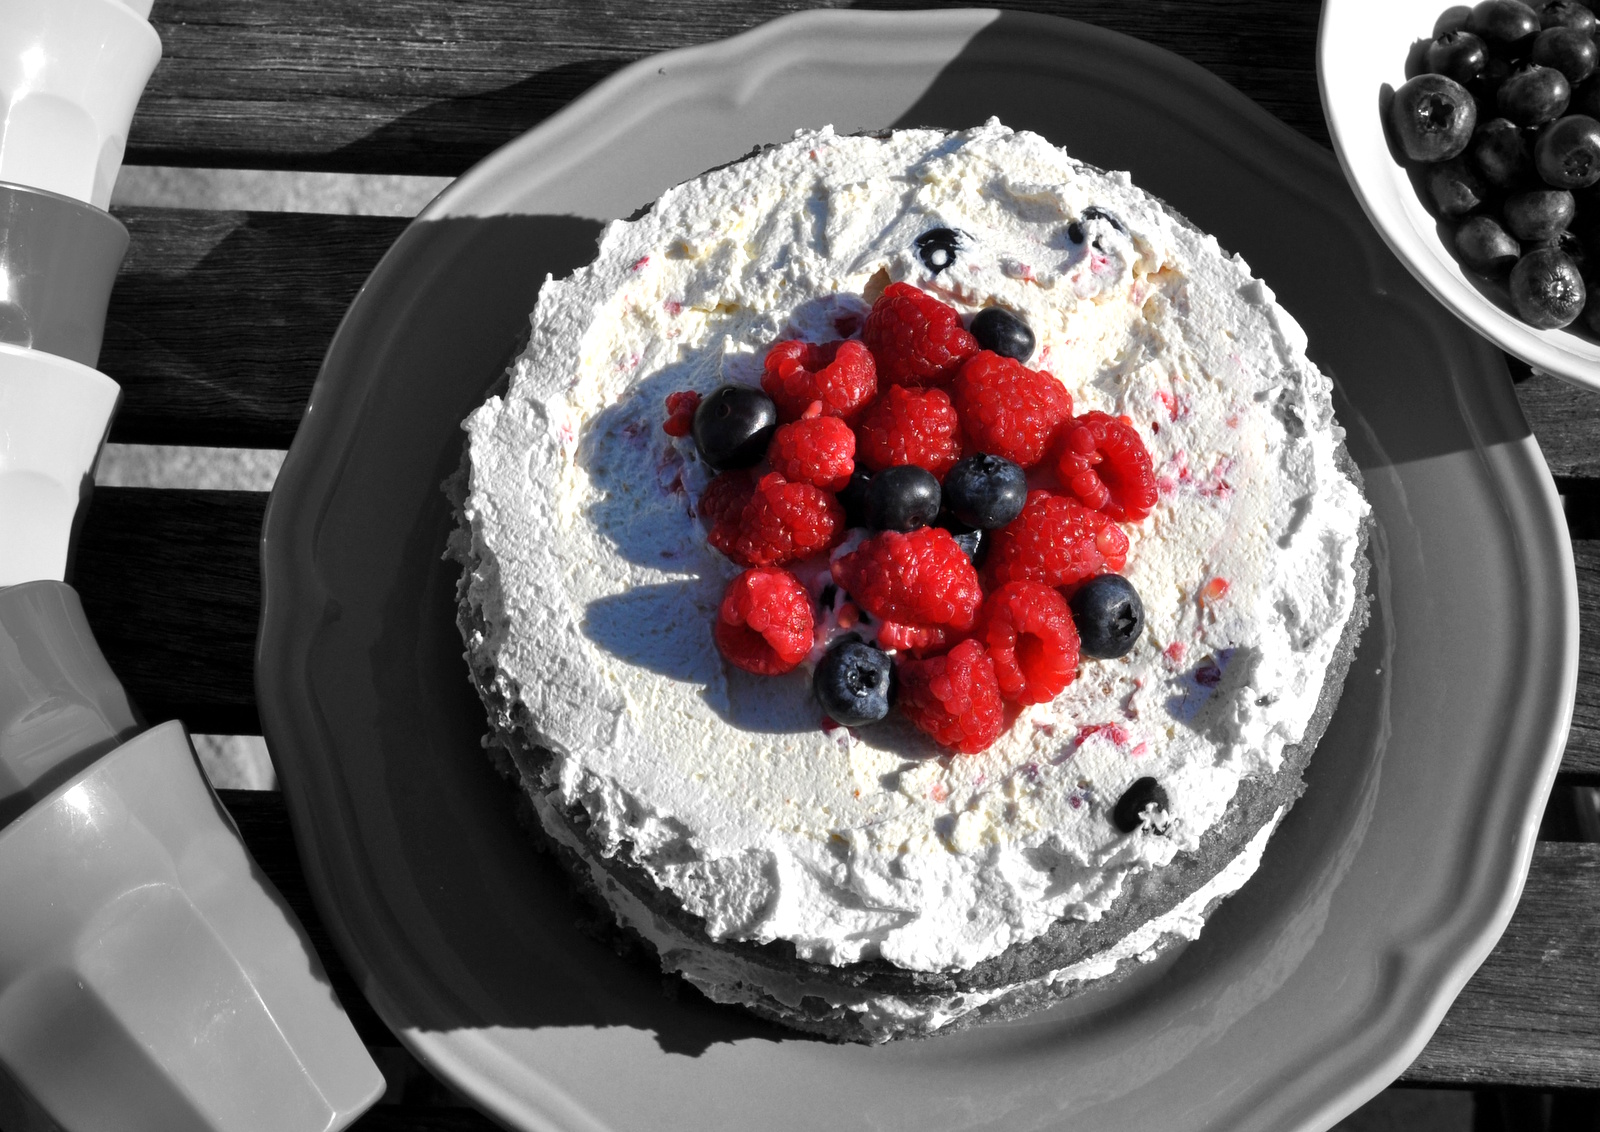
CREAMY CARAMEL CHEESECAKE
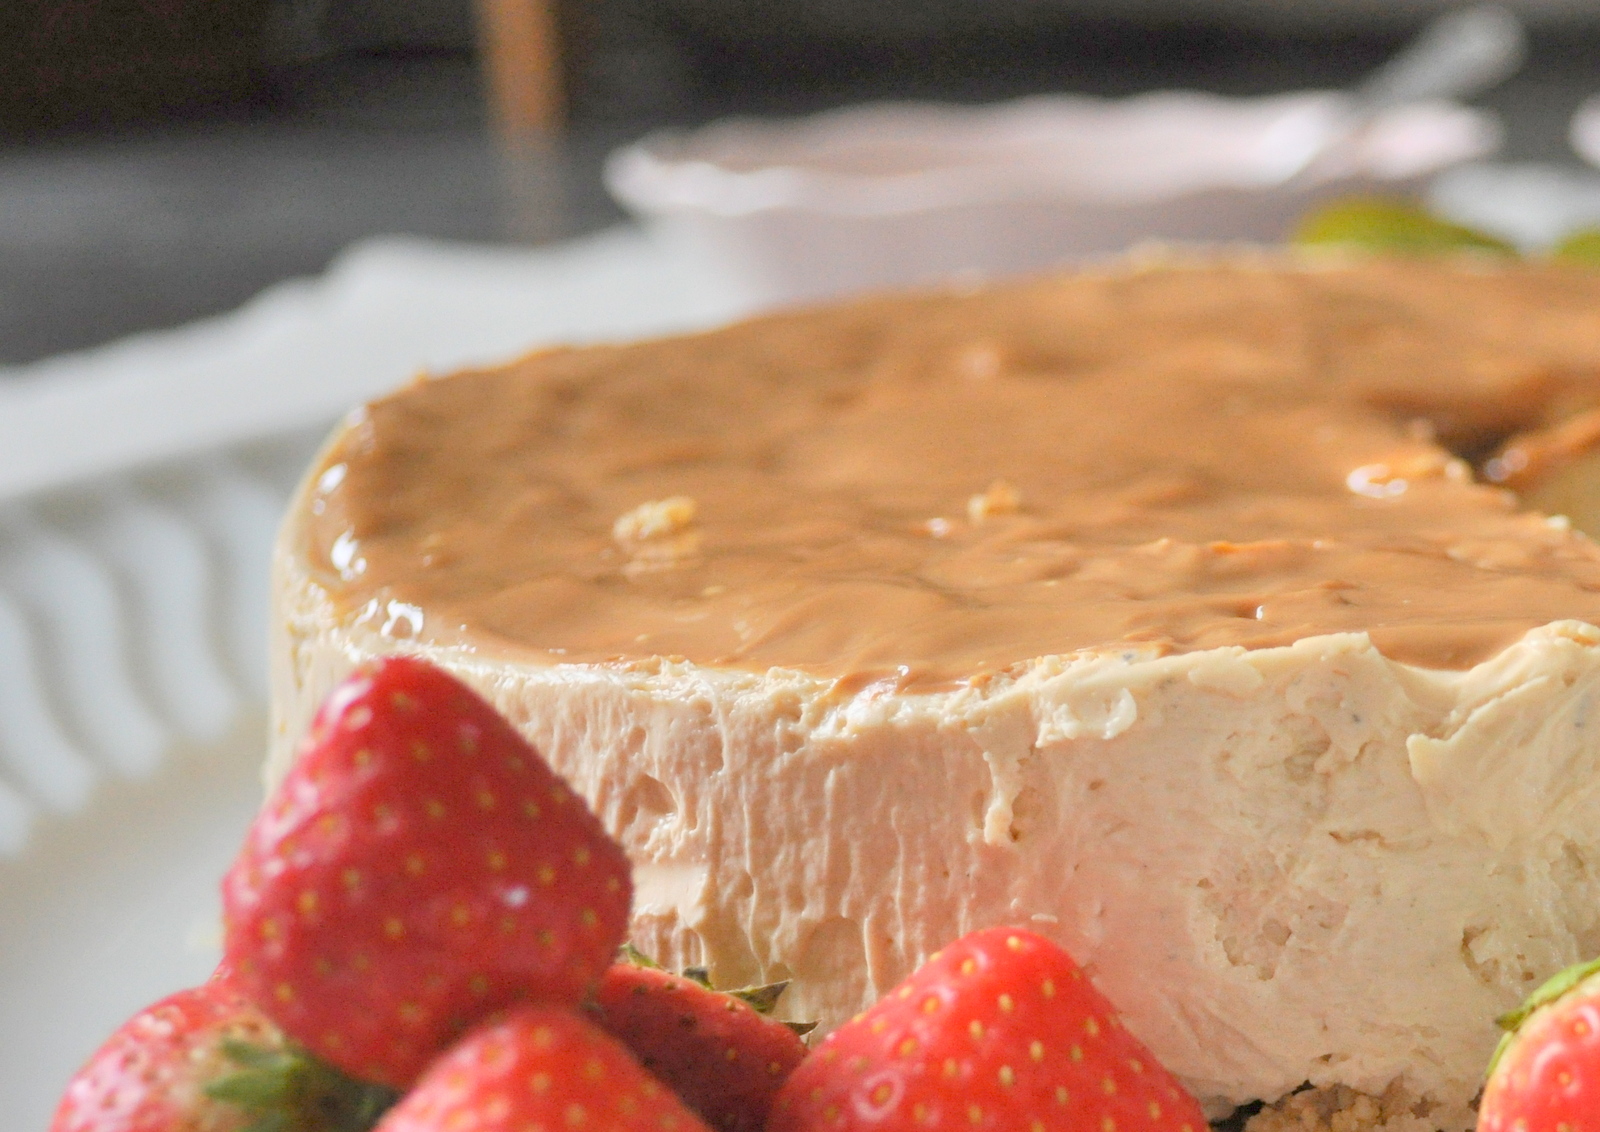
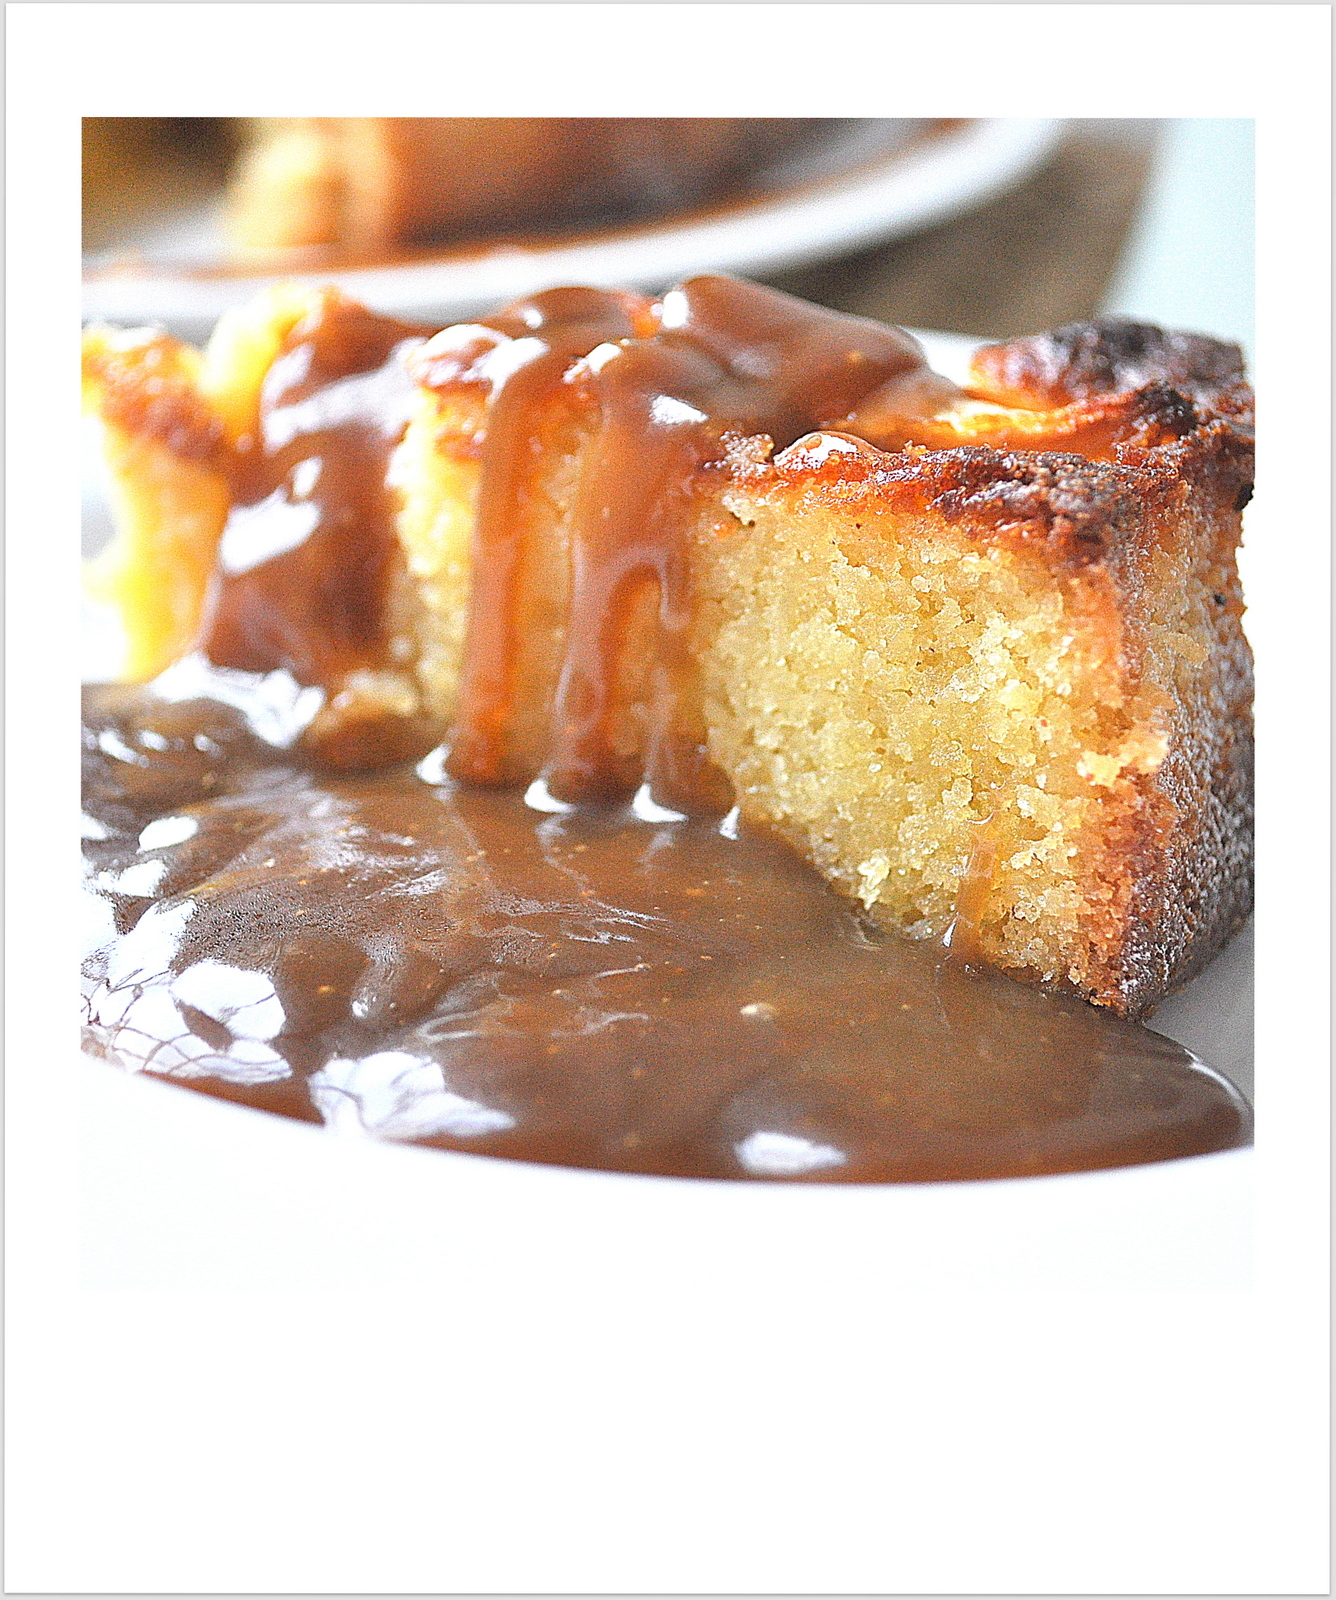
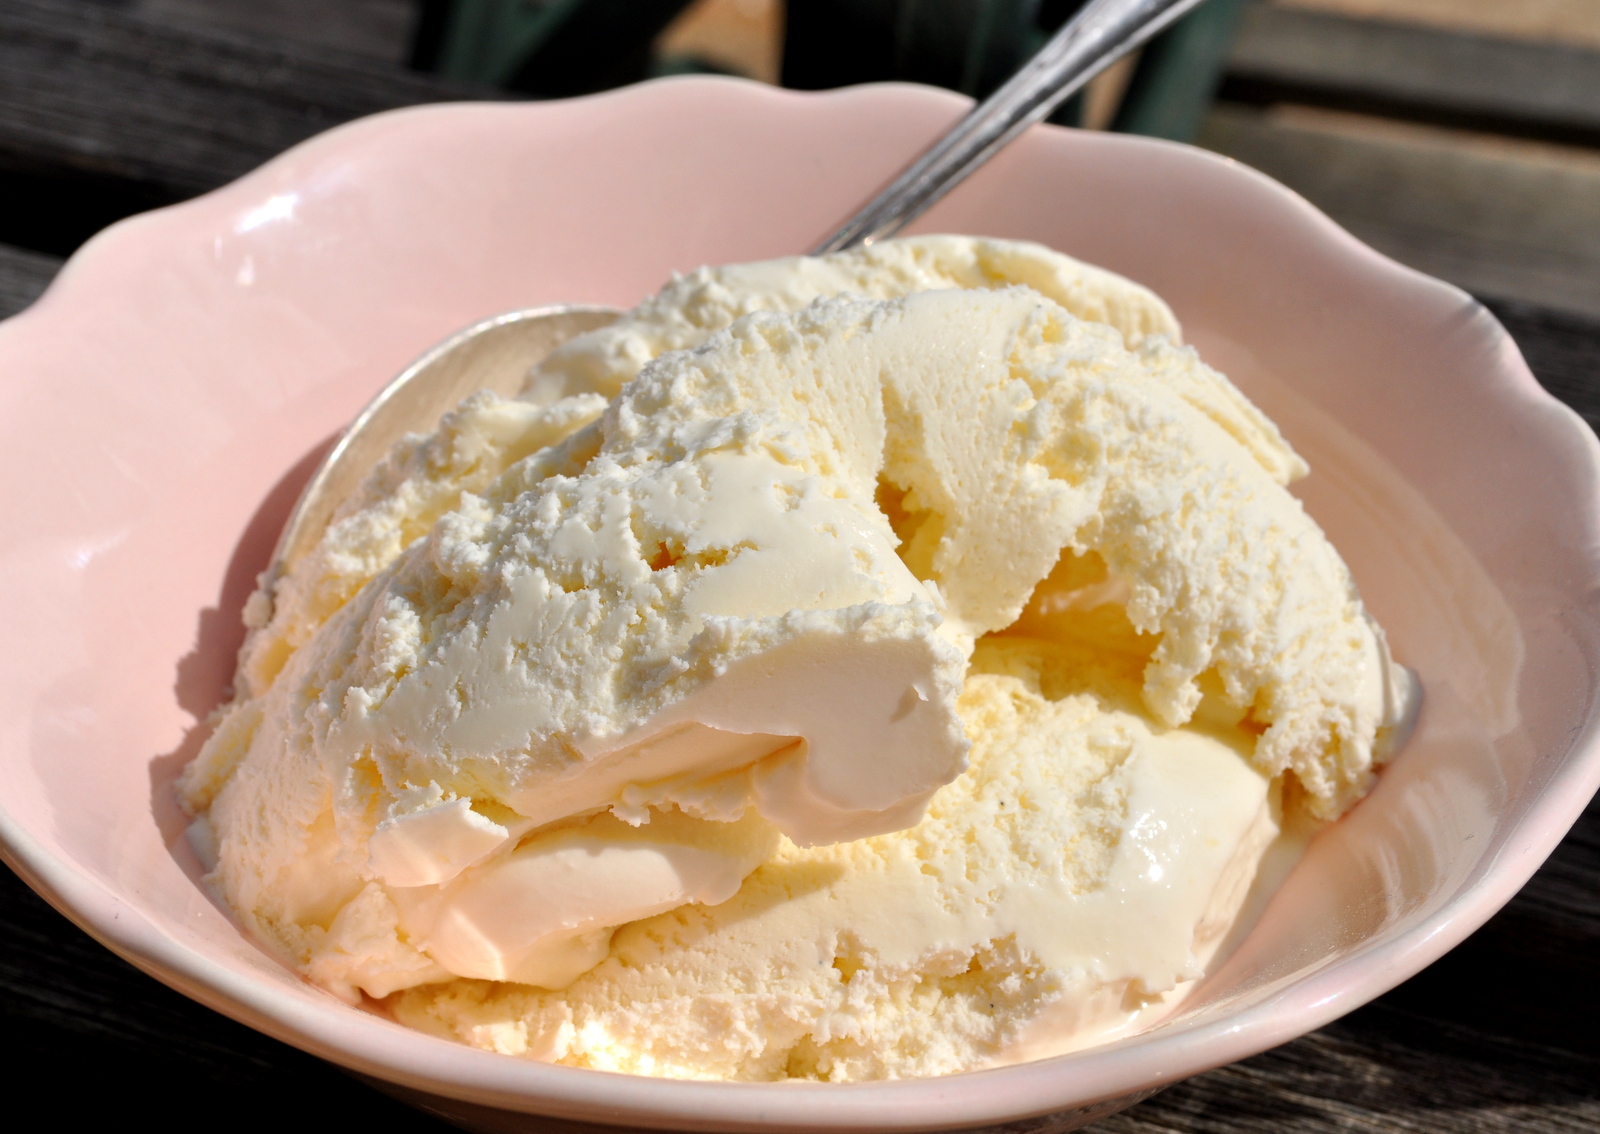
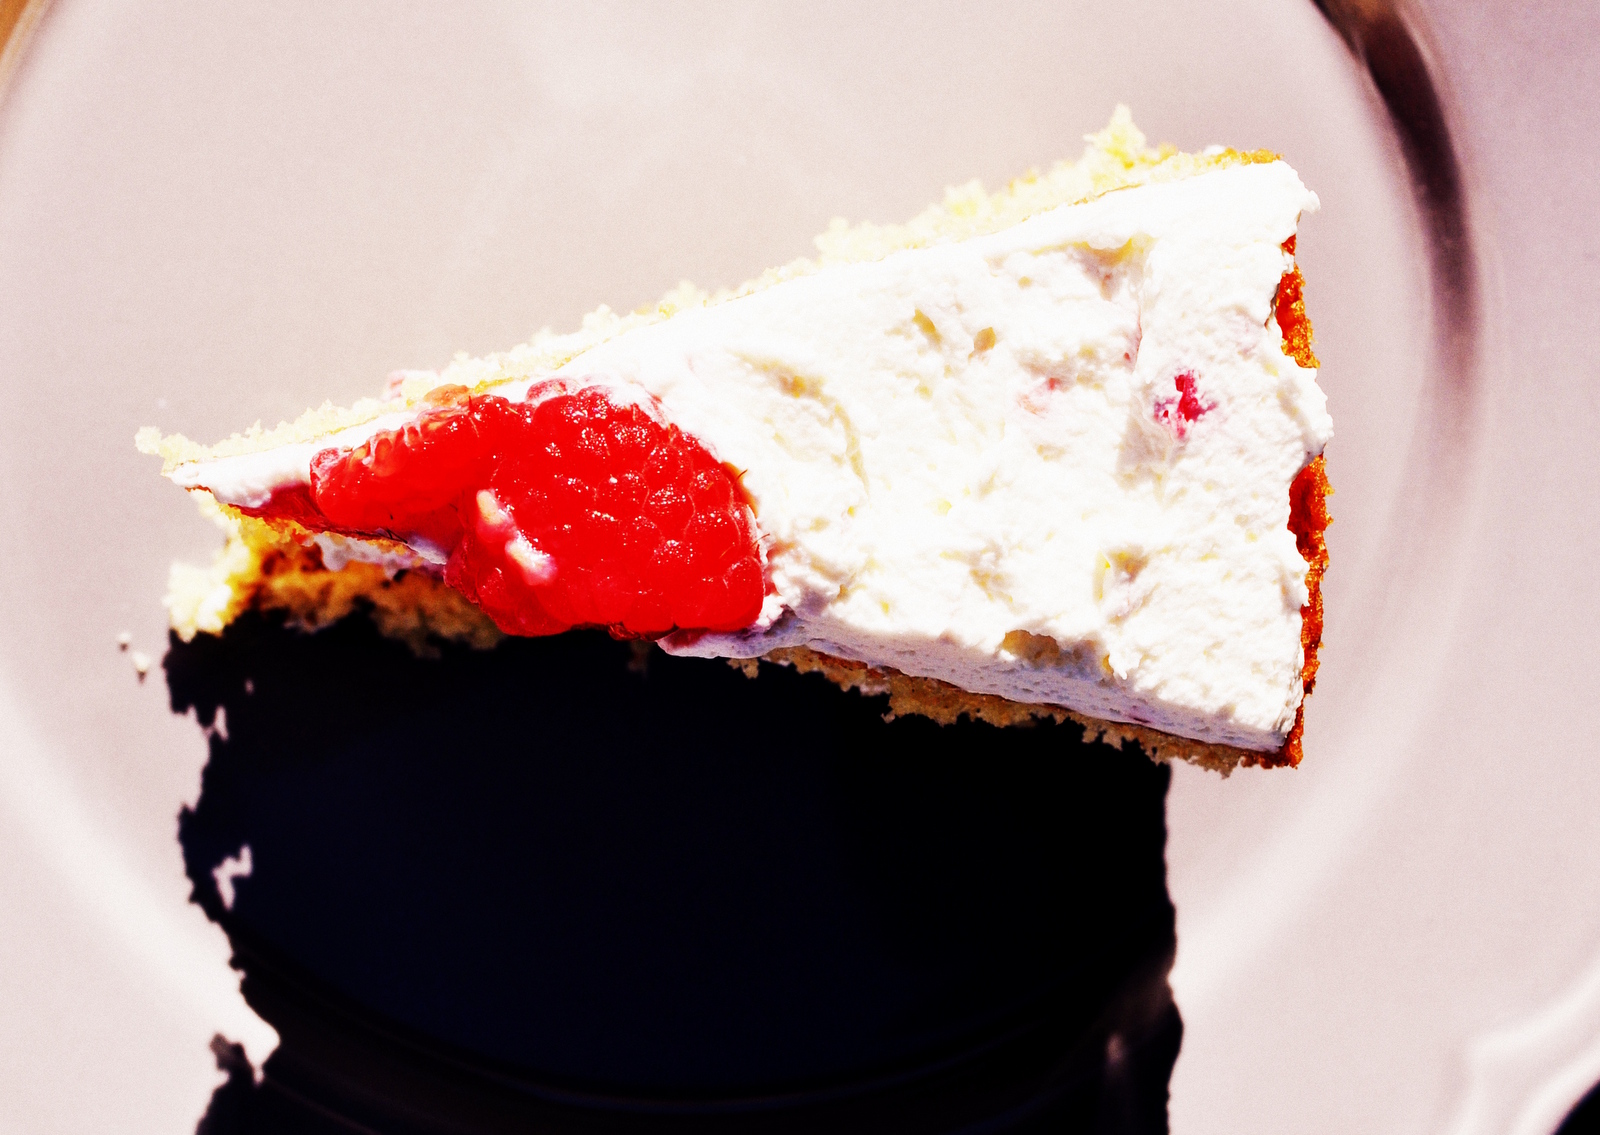
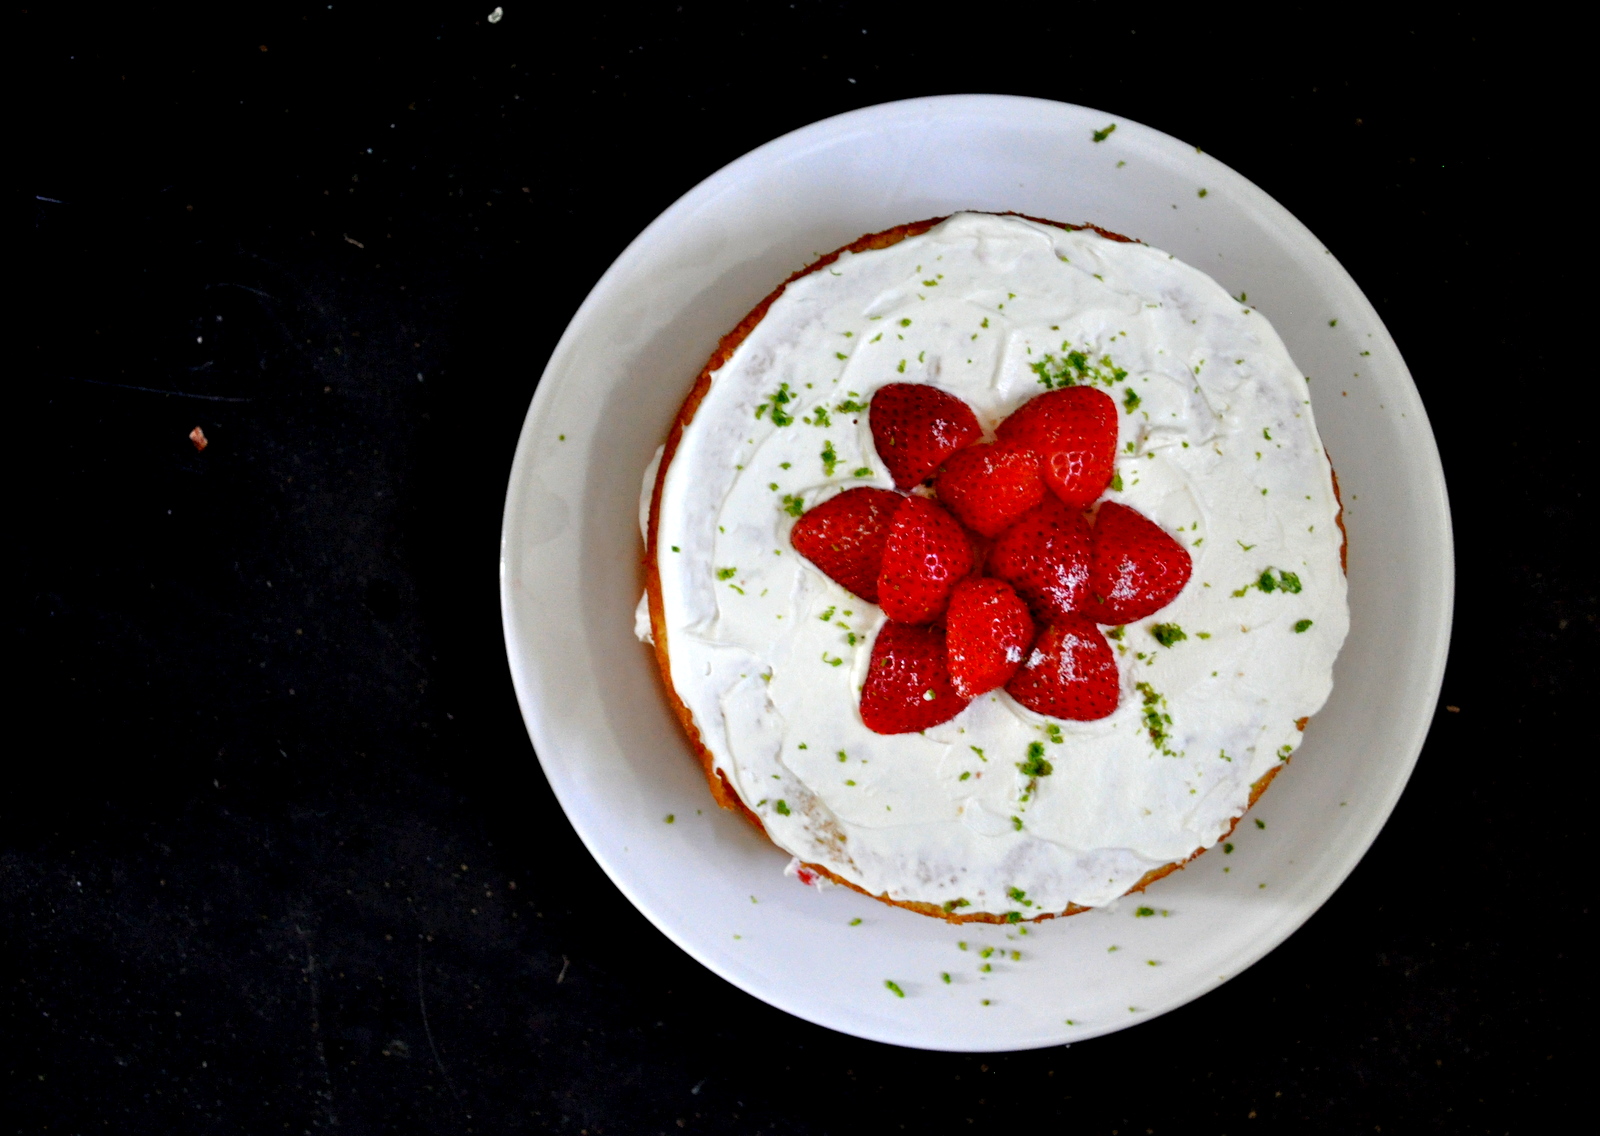
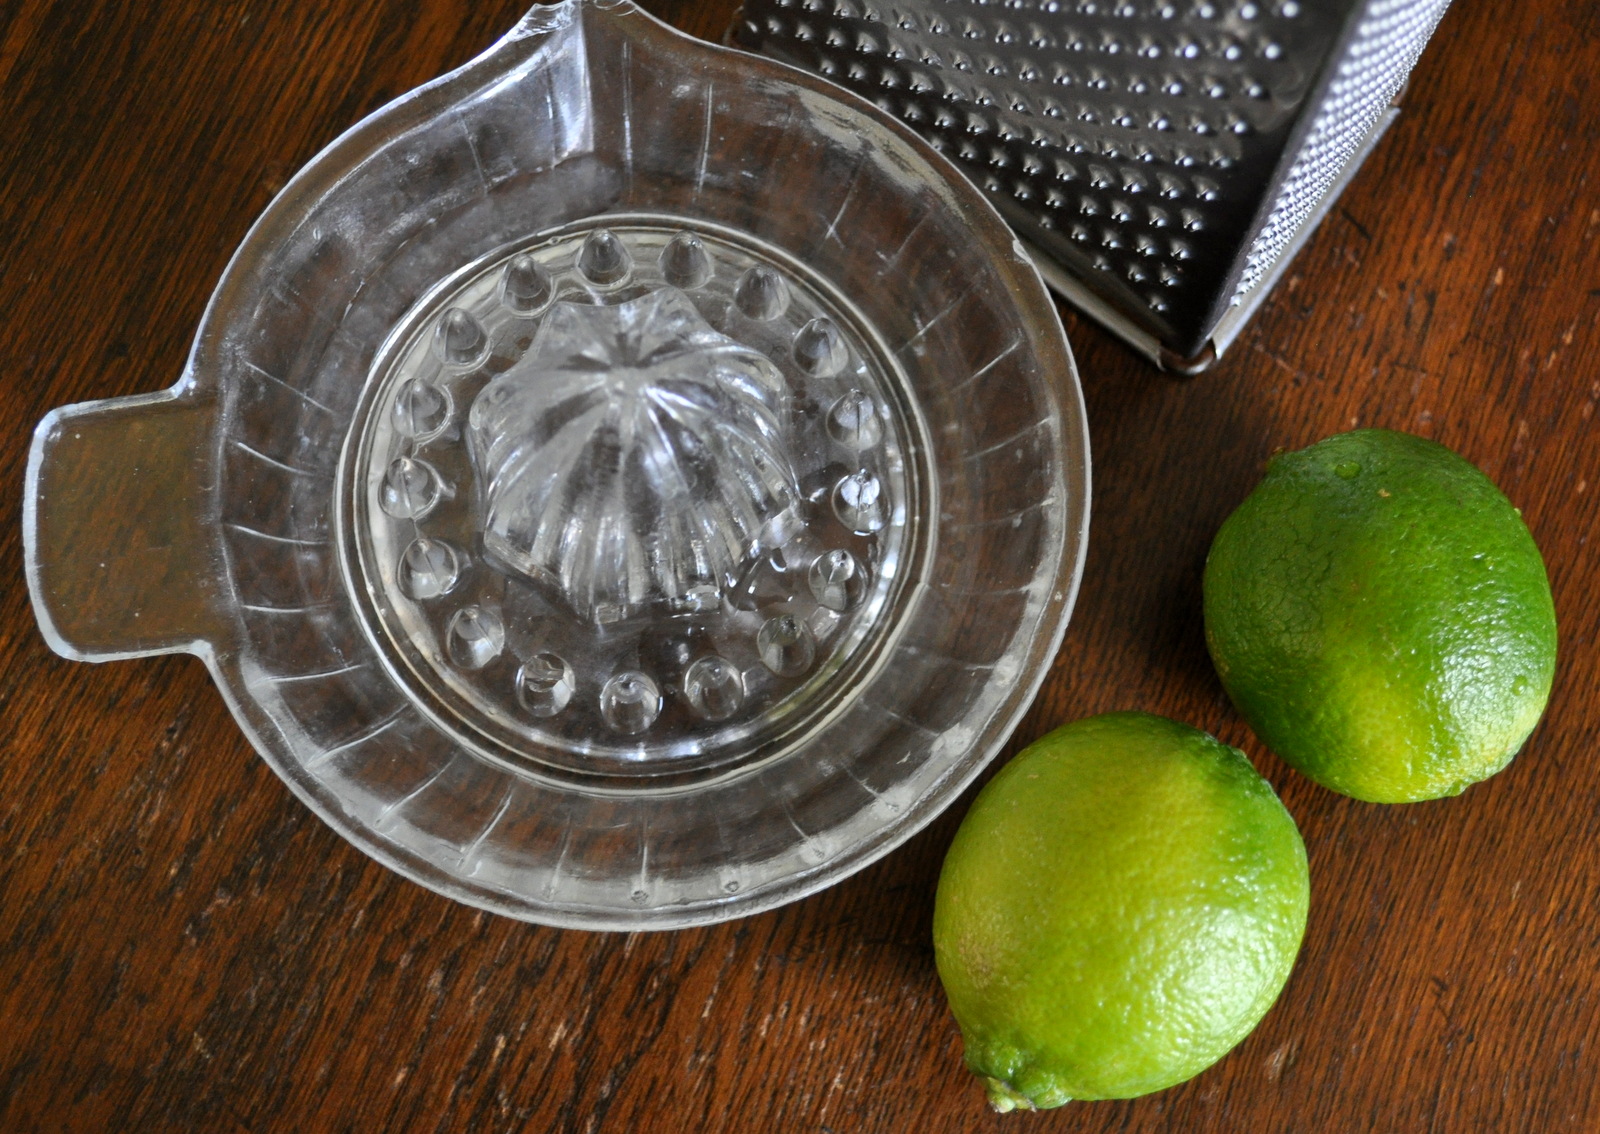
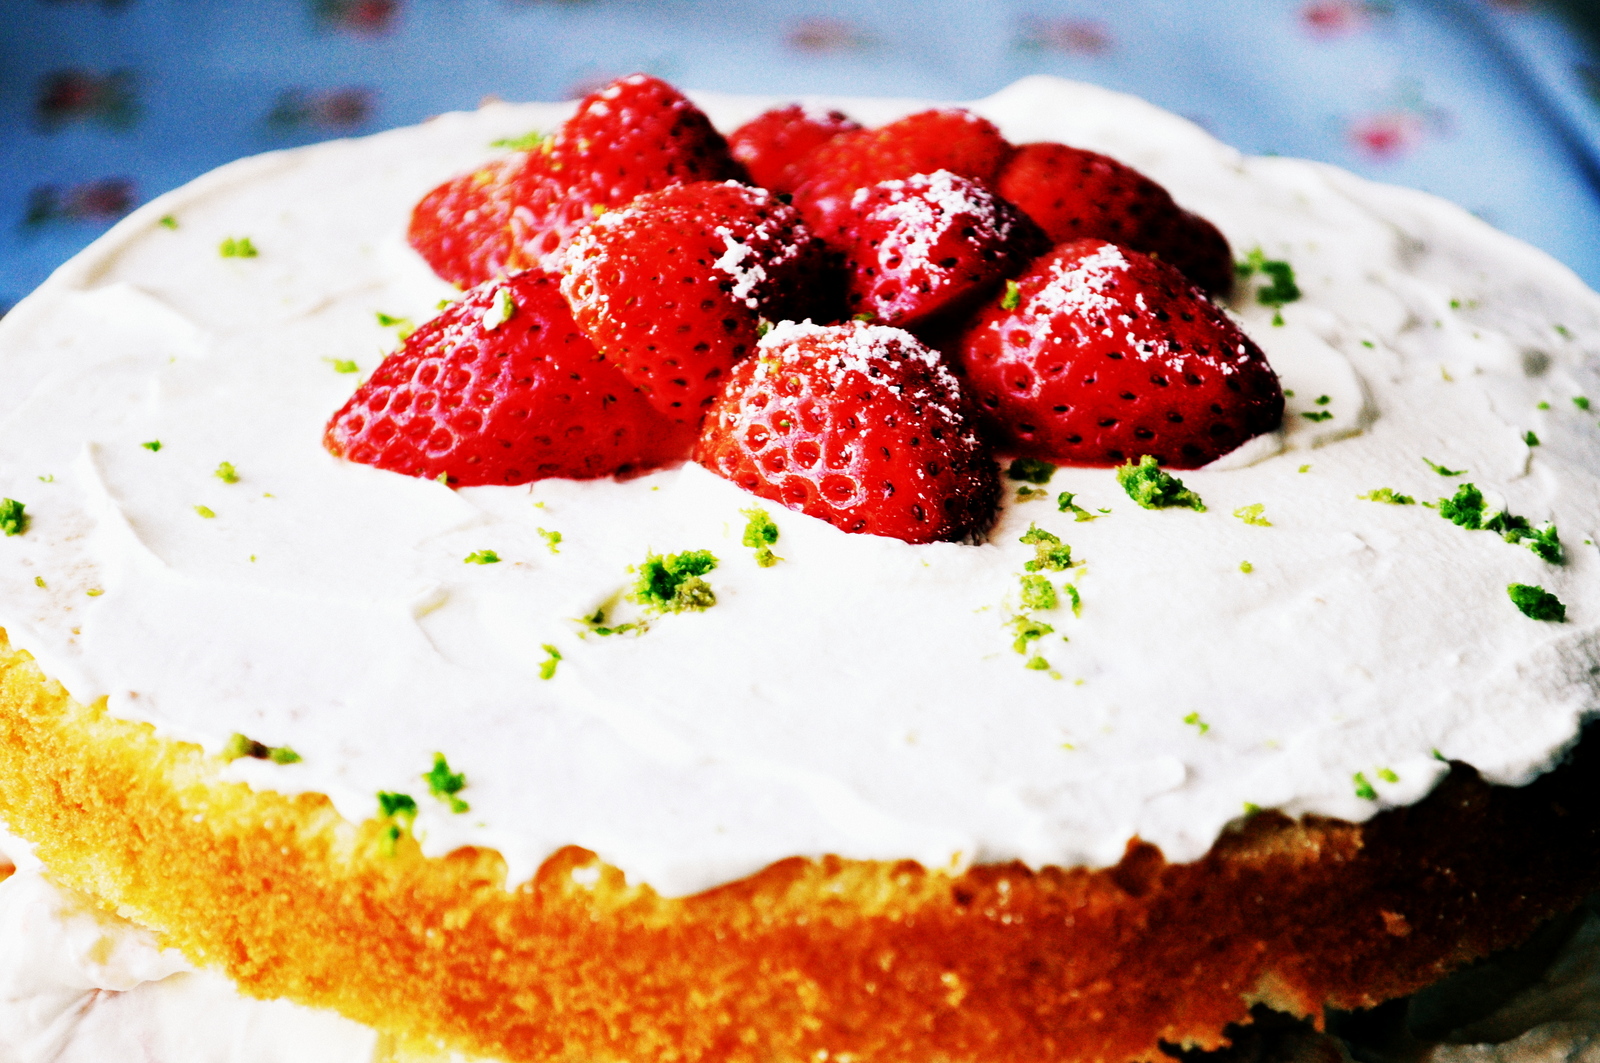
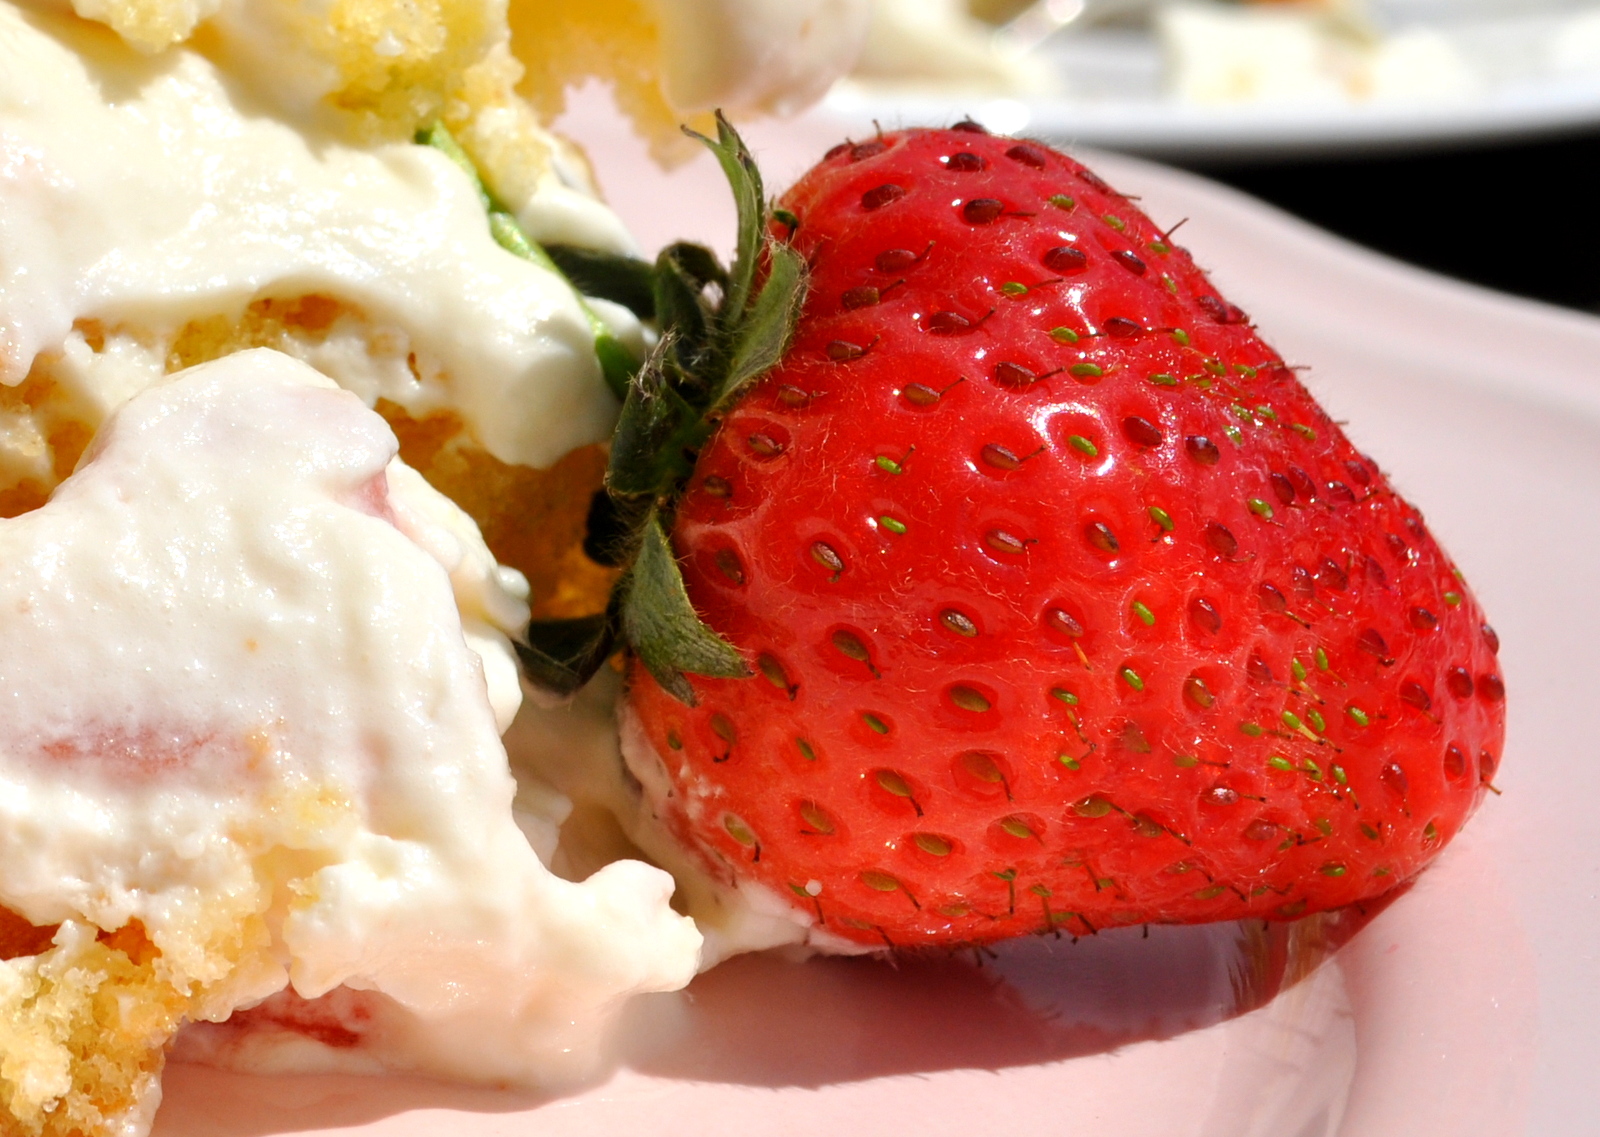
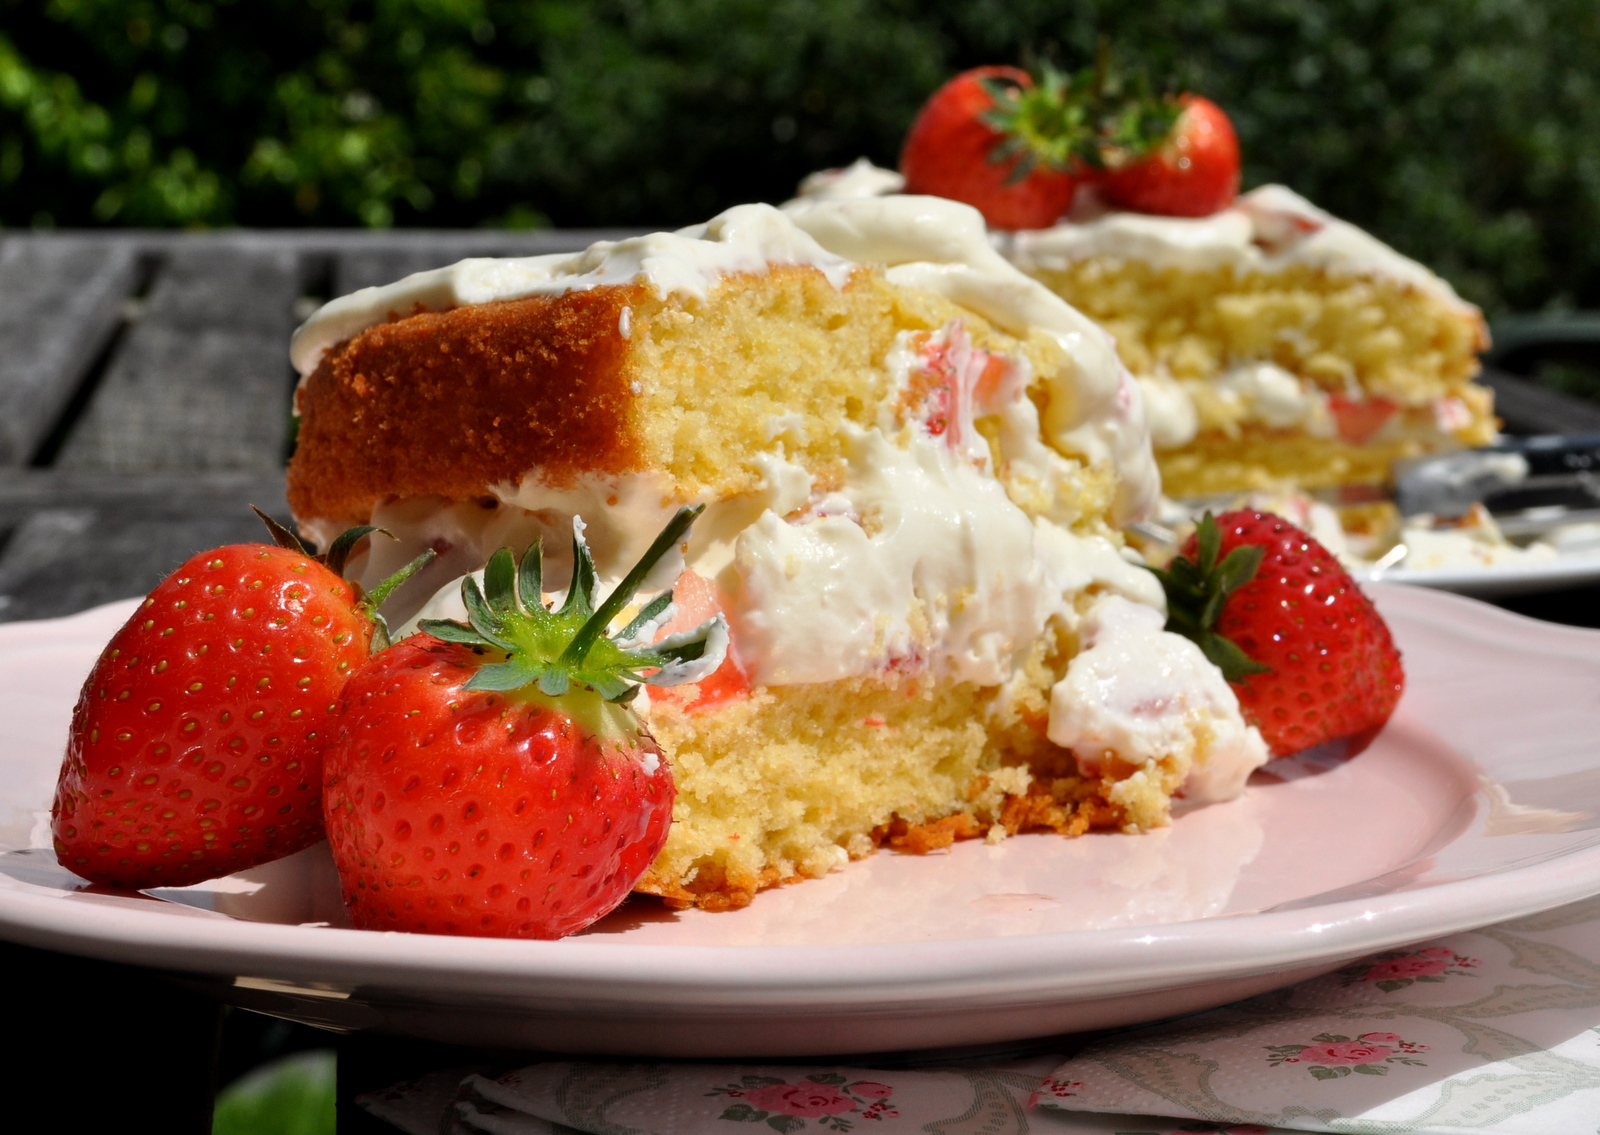
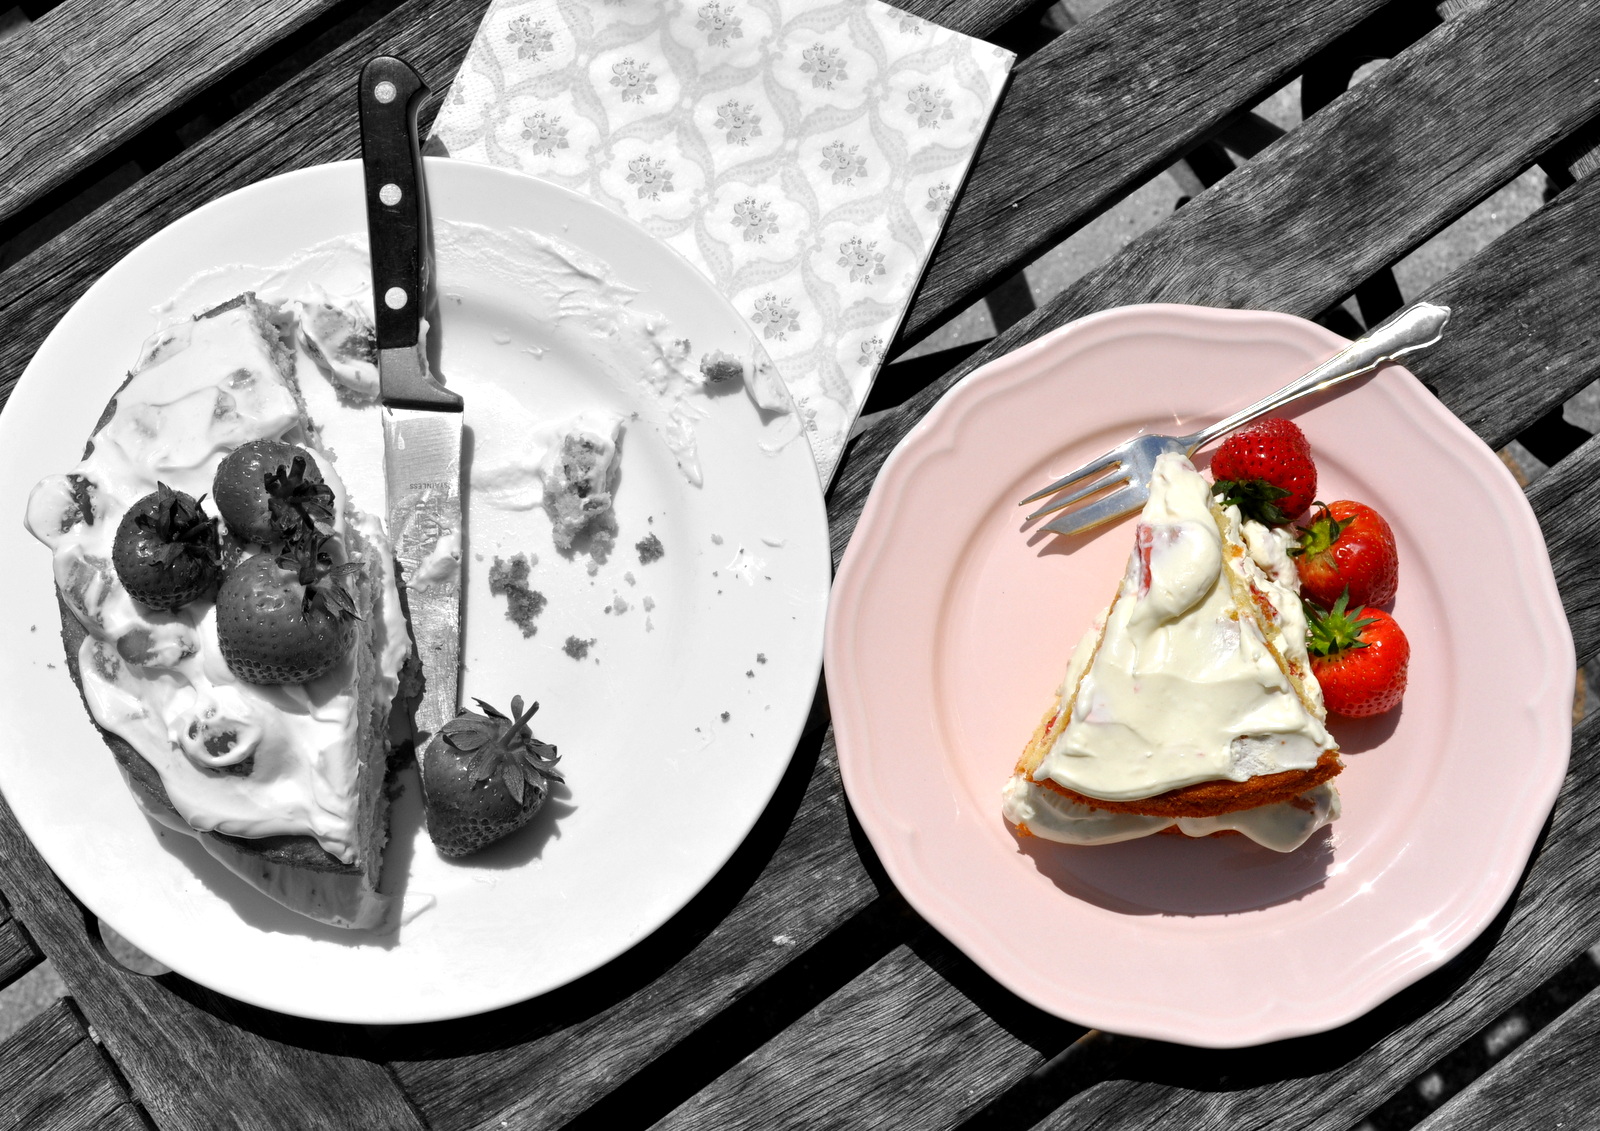
I feel that I have been a little neglectful over the past three weeks – it has been a busy time – so I hope that you will accept my apologises and to recompense I offer a simple, but moreish, recipe for a delightful sweet treat. It is so quick to make, requires the minimal of ingredients and no baking. If you have a fridge and a spare 20 minutes than this is one for you. To be honest it all began with some cream in the fridge that needed to be used up and a couple of sweet toothed, pudding loving daughters reaching for the cake tins, only to find them bare! And it being a weekend we all needed a little indulgence and that including the two boys of the house – one bigger and one getting bigger! I turned out the fridge and the food cupboard and found all the basics that were required to make a cheesecake. Those very same basic ingredients as my usual white chocolate and citrus cheesecakes, but not having any lemons or limes in the fruit bowl and the white chocolate already used for a batch of my Blondies earlier in the week, I reached for a tin of caramel sauce that sat lonely upon the shelf – I think it will be time for a shop soon! Without further ado I set about my experiment to create a new dessert to add to my long list of sweet recipes. I served it with a little homemade vanilla ice cream (as my coconut ice cream, but replacing the coconut milk with full fat milk) and a few strawberries. And as everyone keeps asking for more, I guess it was a success!
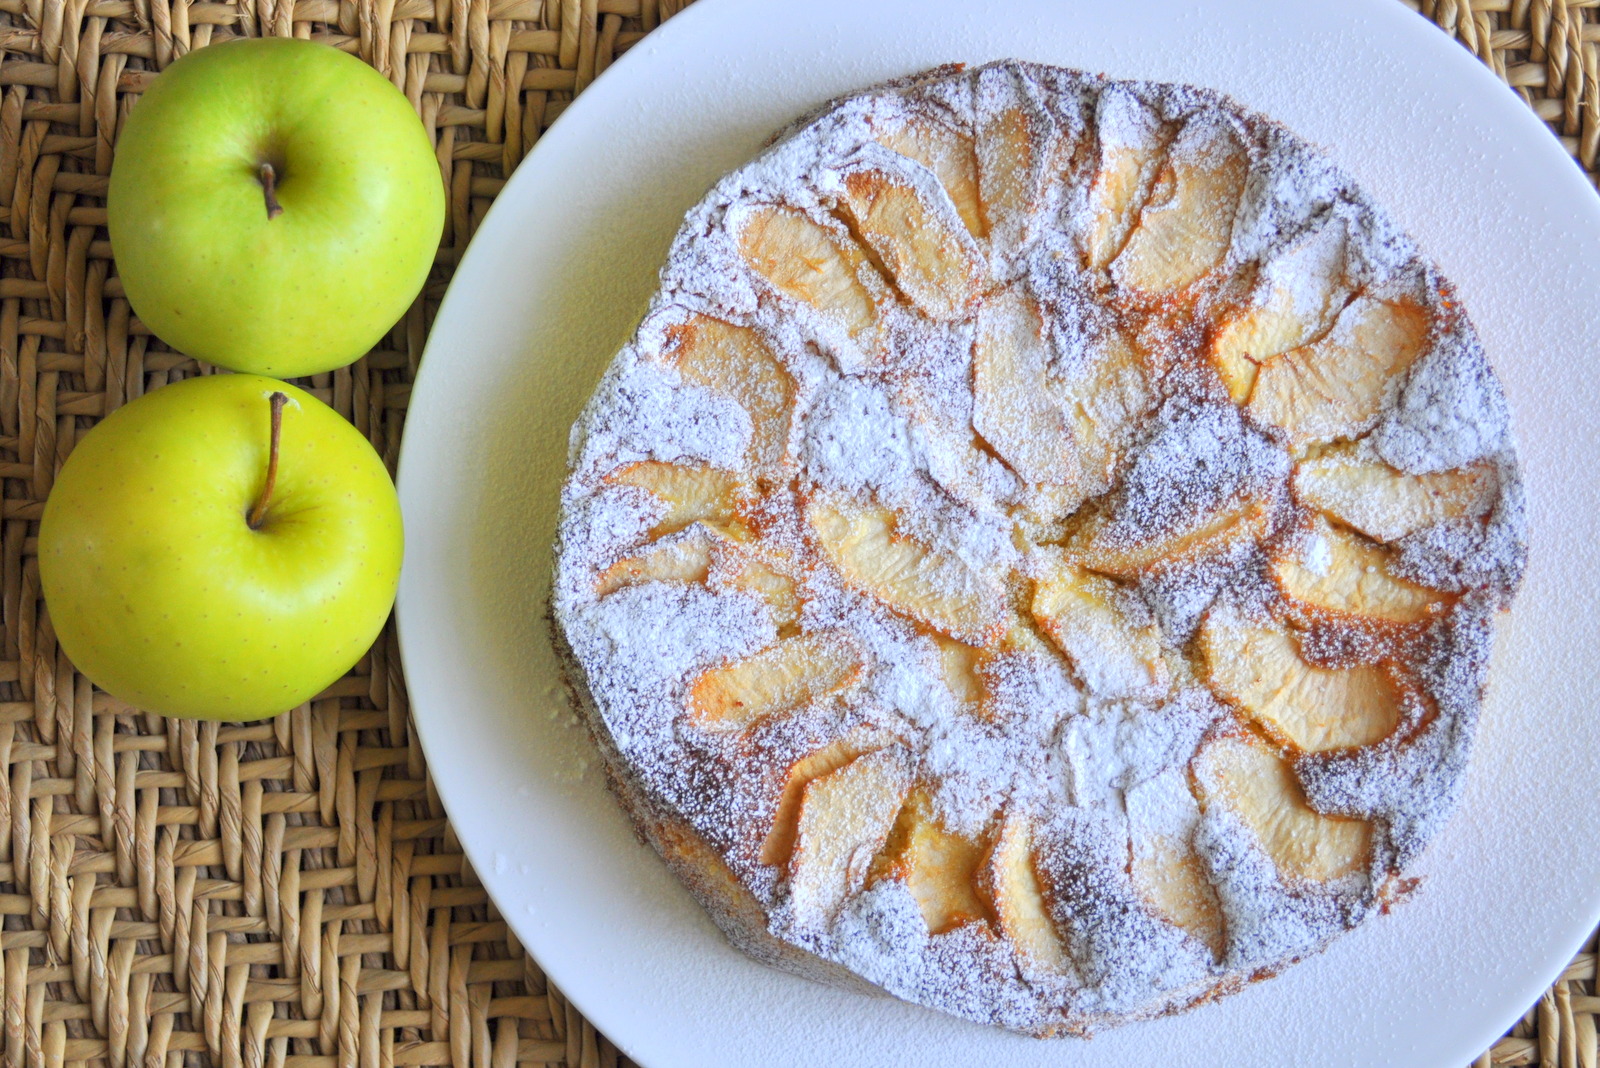
CREAMY CARAMEL CHEESECAKE WITH VANILLA ICE CREAM
You will need:
- One 20cm (8″) round loose bottom or spring form cake tin (base lined
- 125g (5oz) digestive biscuits, crushed
- 75g (3oz) butter, melted
- 350ml (12floz) double cream
- 450g (16oz) cream cheese
- 400g (14oz) tin of caramel sauce (Dulce de leche or Carnation!)
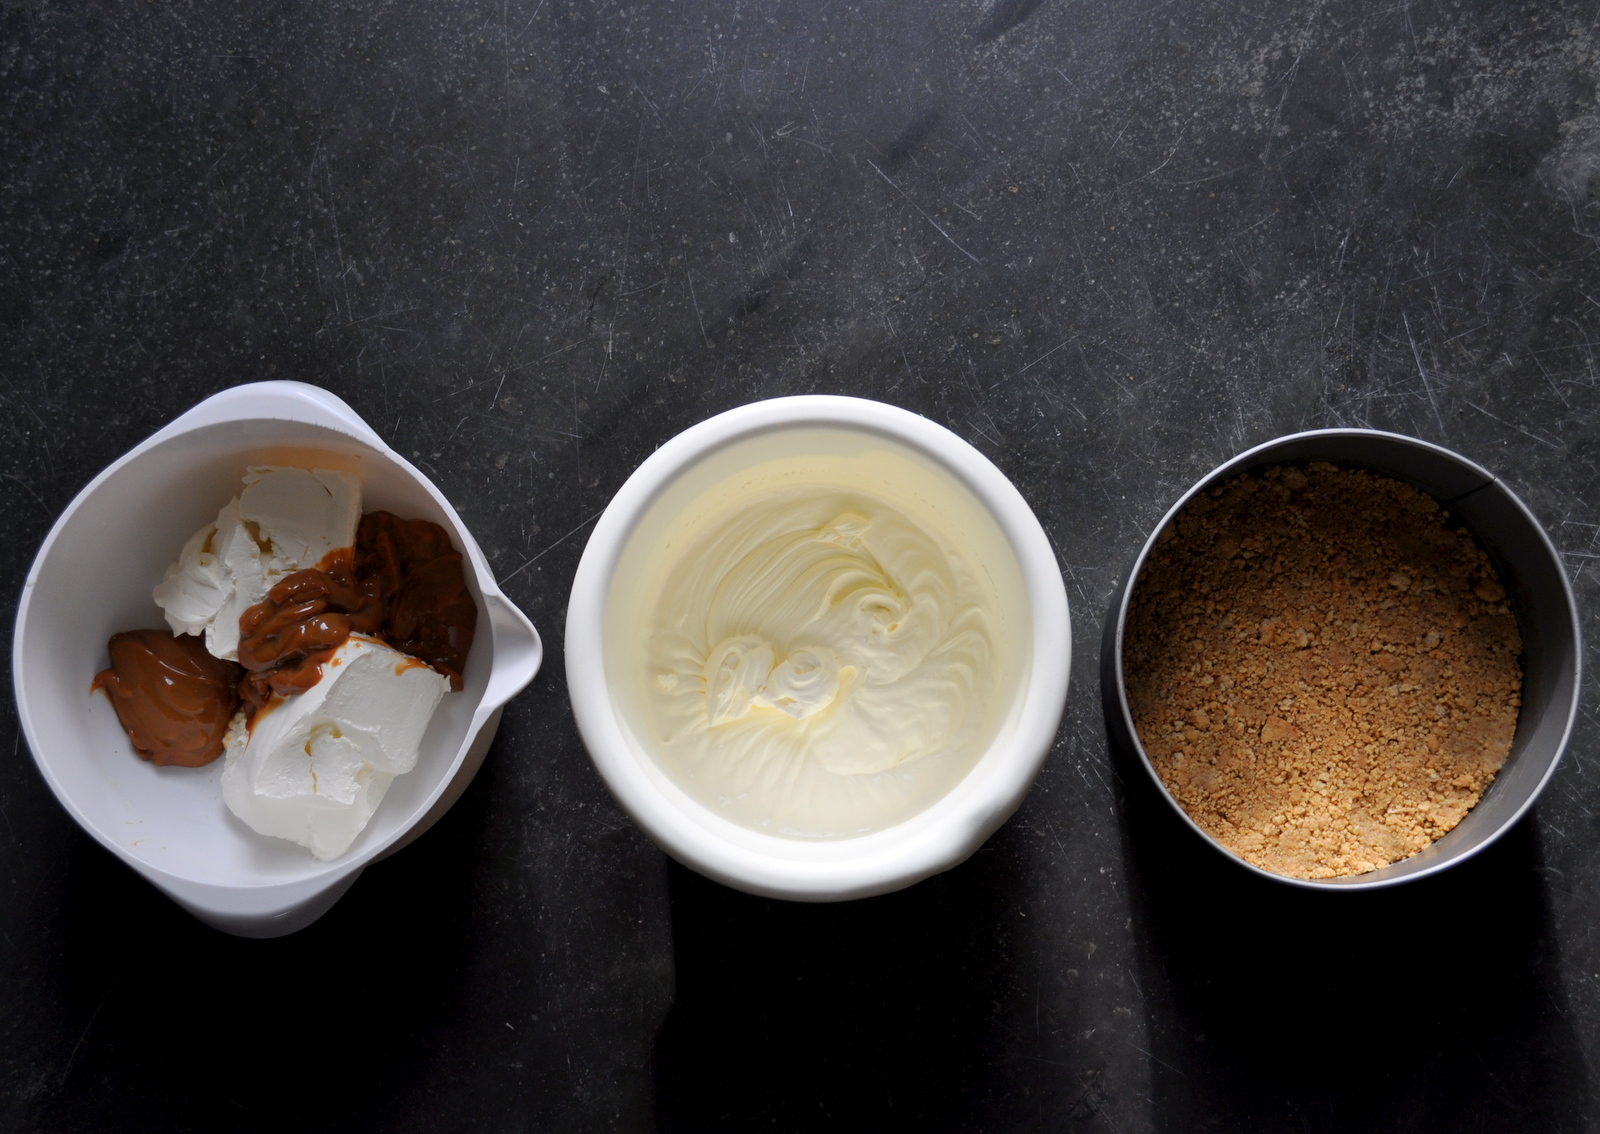
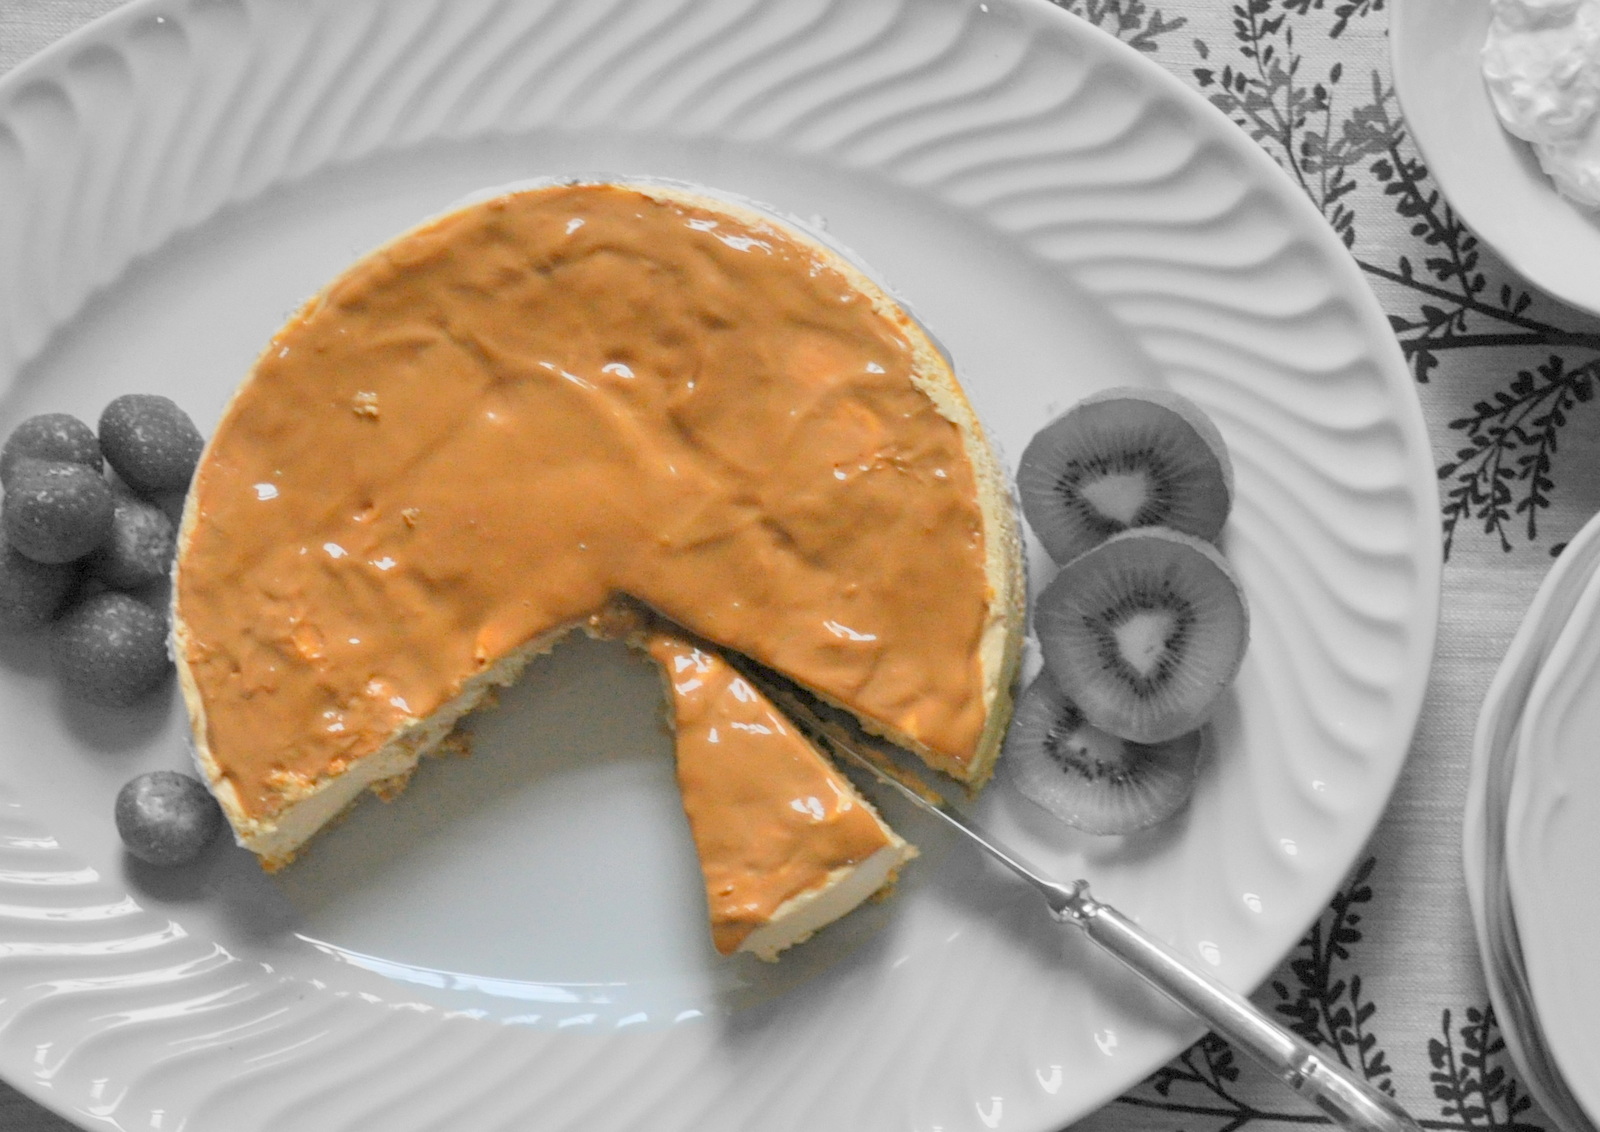
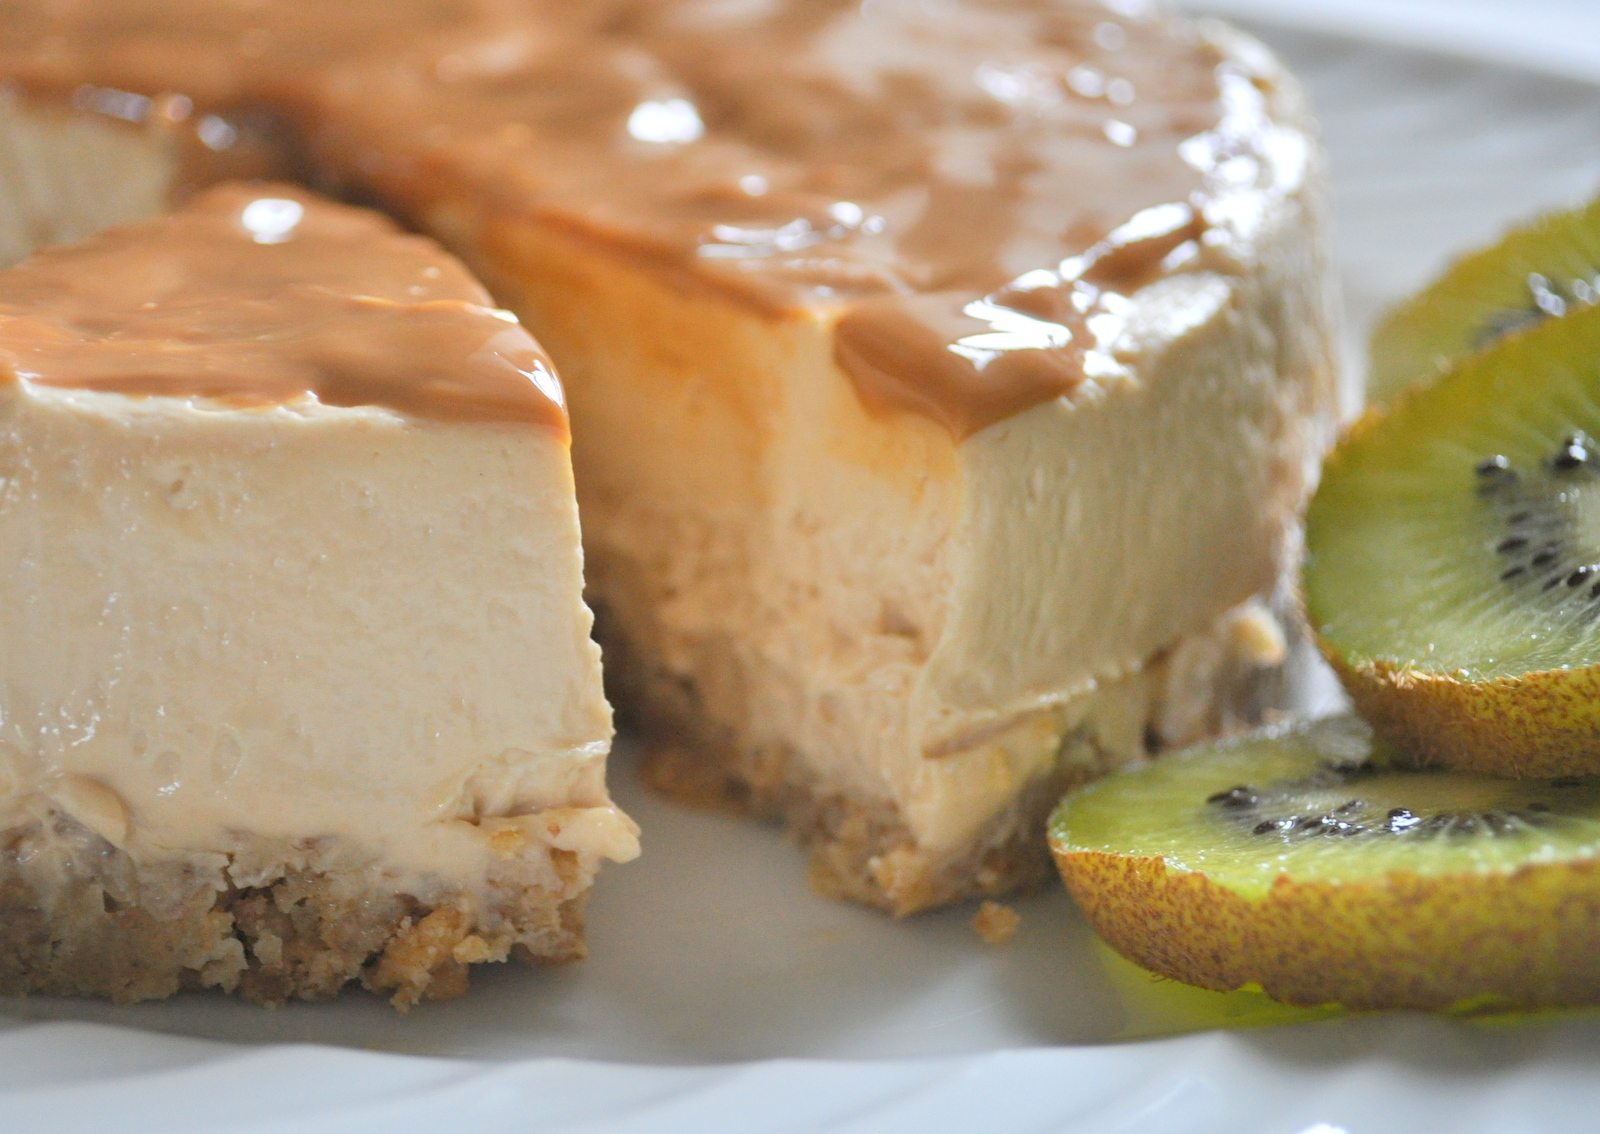
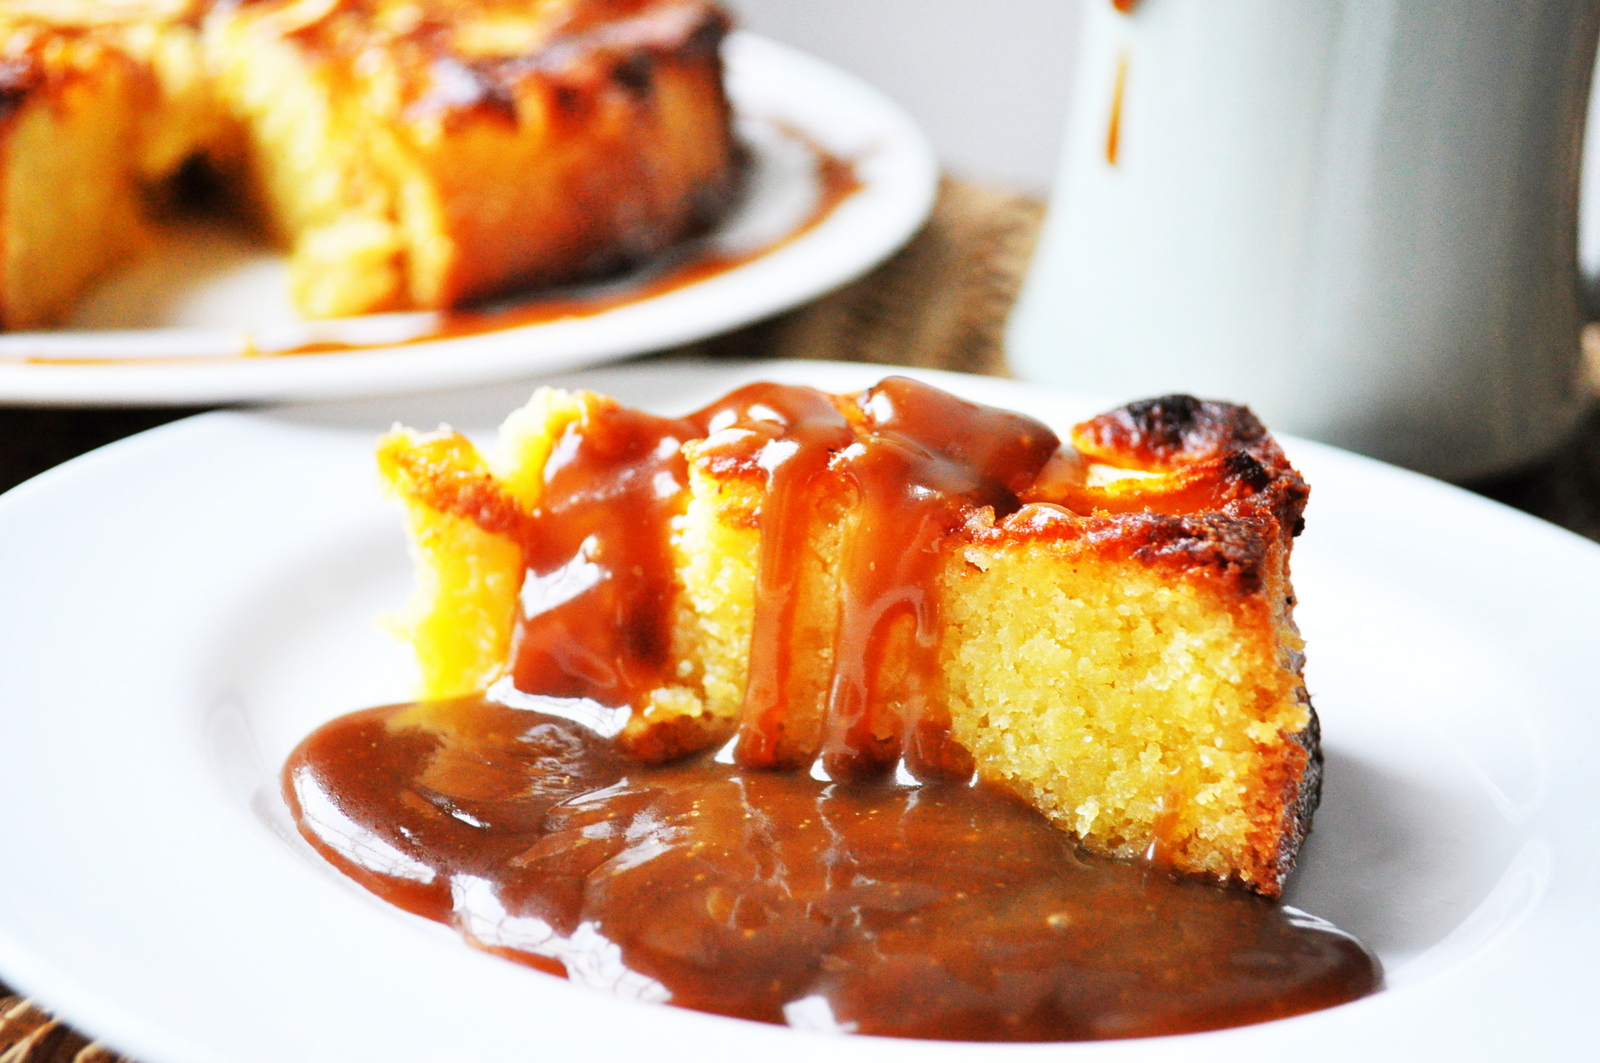
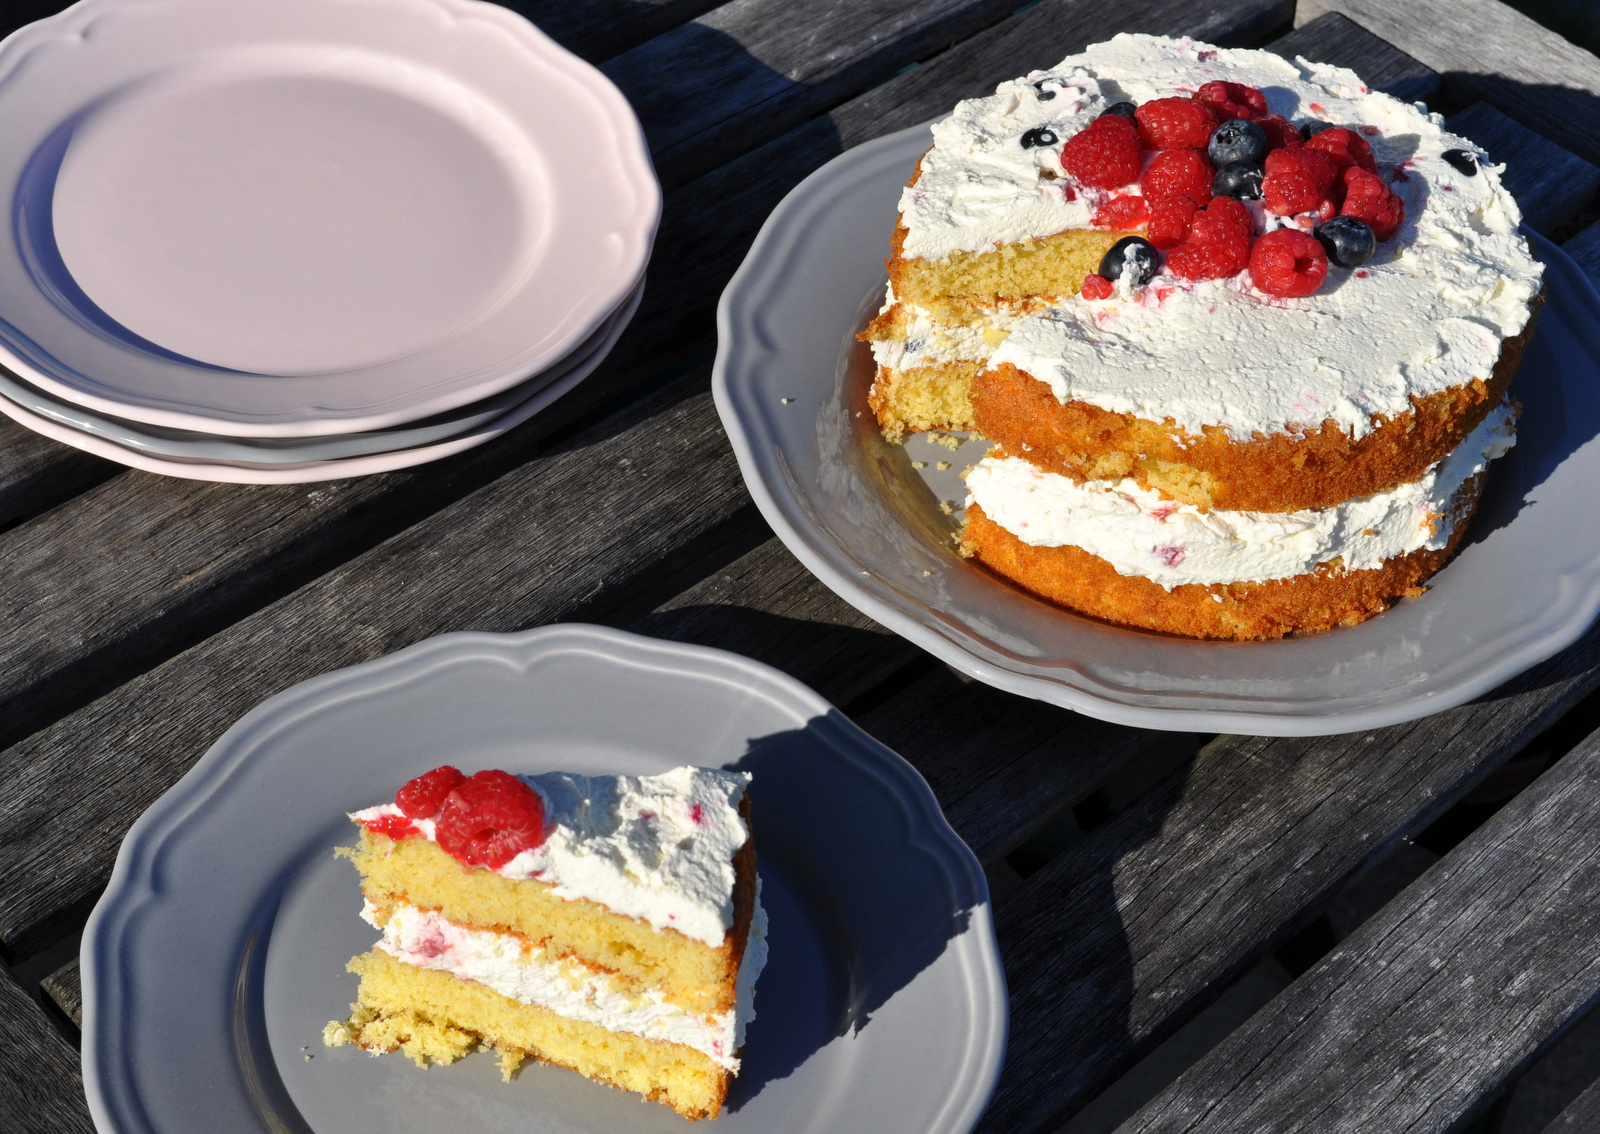
Here we go – Combine the melted butter and crushed biscuits and press down onto the base of the prepared tin. Chill. In the meantime put the cream into a mixing bowl and whisk until just beginning to thicken. In another bowl place the cream cheese and 250g (8oz) of the caramel sauce and whisk to combine. Spoon the cream into the caramel mixture and whisk together until well blended. Cover the biscuit base with the caramel cheesecake cream and smooth the top. Chill for at least an hour. Remove the cheesecake from the tin and spread the remaining caramel sauce over the top. And that is it!
It can be served straight away or returned to the fridge until required. But it is always best served chilled. It freezes well.
Serves up to12.
I hope that you enjoy it as much as we did!
Diane x


